Project 10: Create a cubbie shelf for hardware storage.
2018-08-16
Objective:
To build a cubbie shelf for hardware storage.
I needed a shelf organizer to stack hardware such as hard drives, network switches, etc.
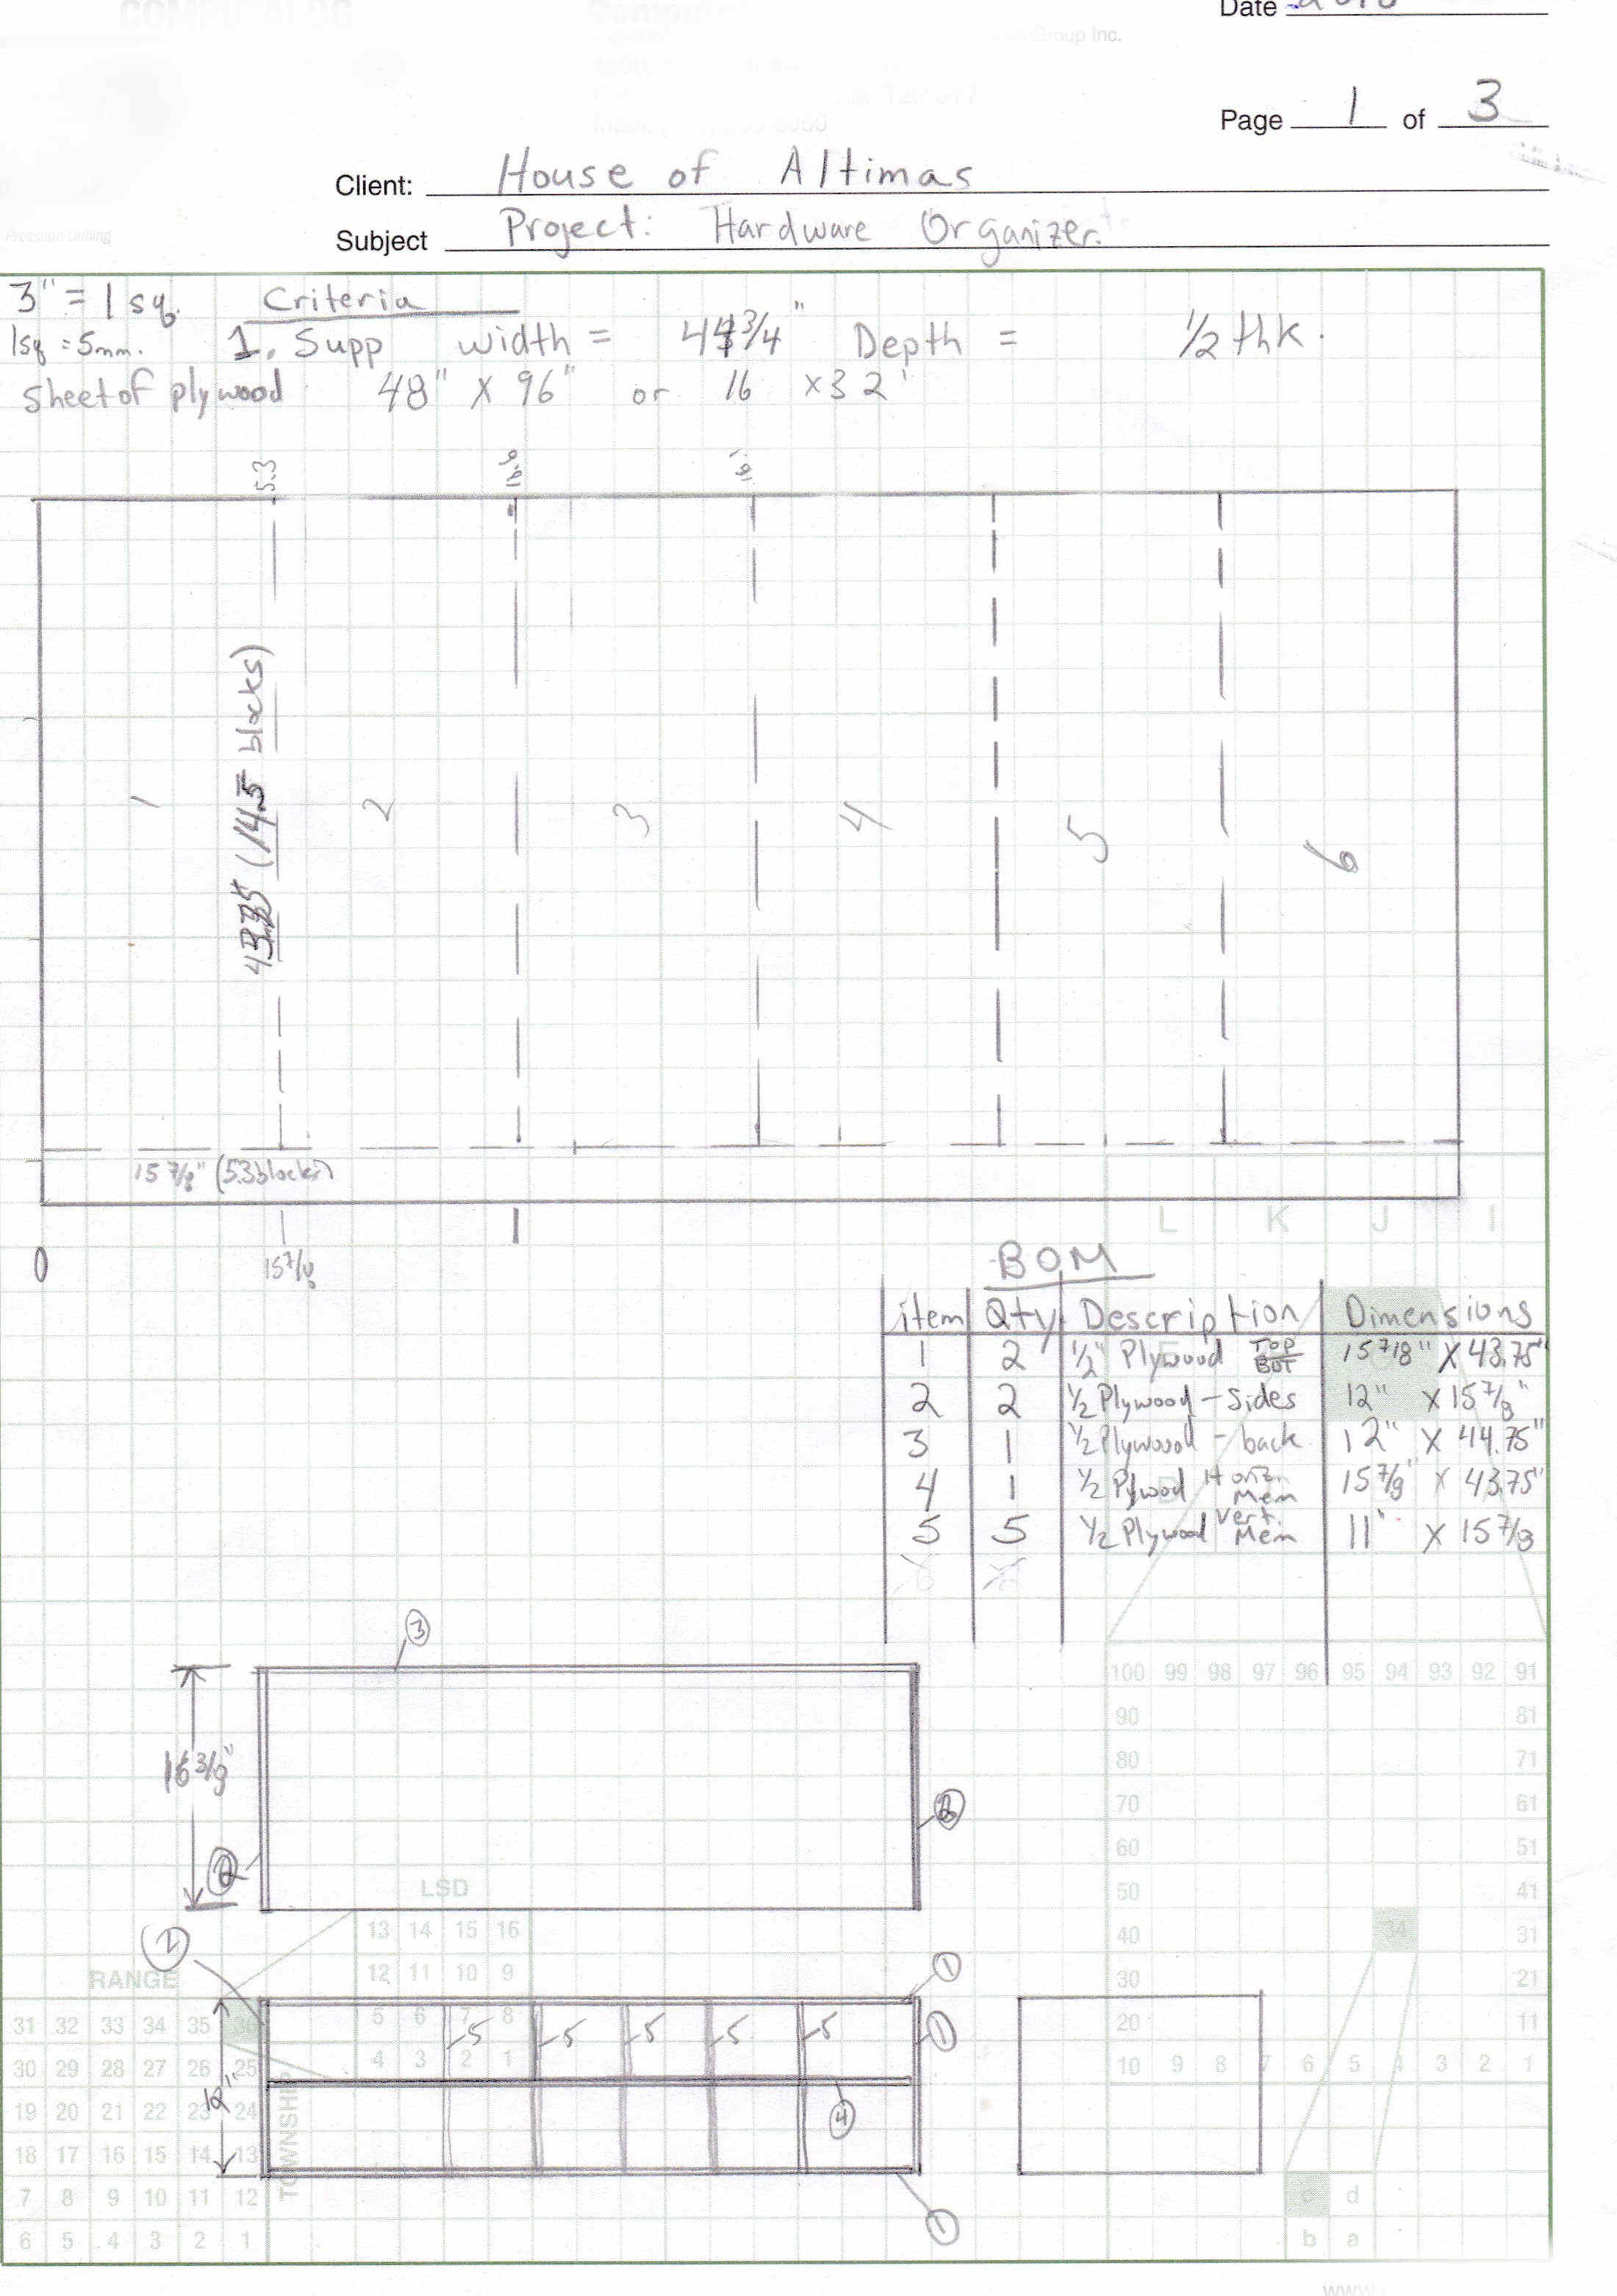
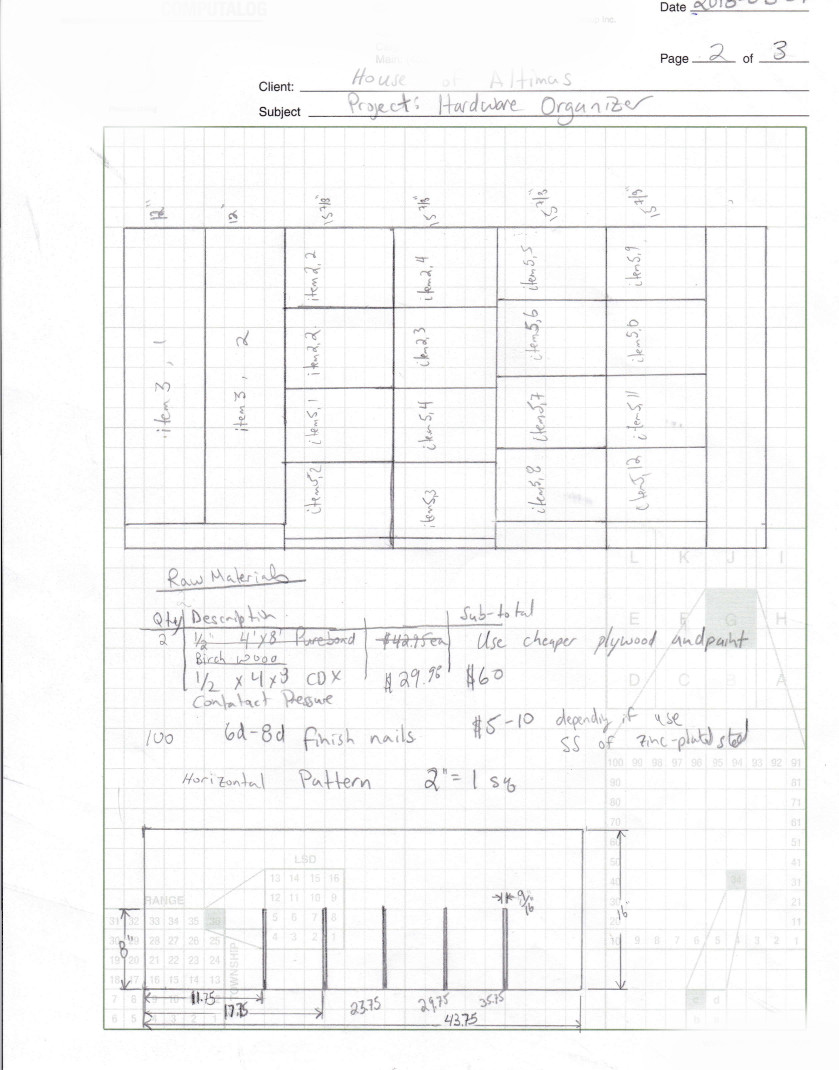
Only hand tools were used to build this hardware organizer. The shelf was made to fit into an existing shelf, 2 cubes high with each row having five 5.5" X 5.25" cubes and one 11.5" X 5.25".
Structure:
12 in. High
16 in. Deep
44.75 in. Wide
34 lbs Mass
Materials:
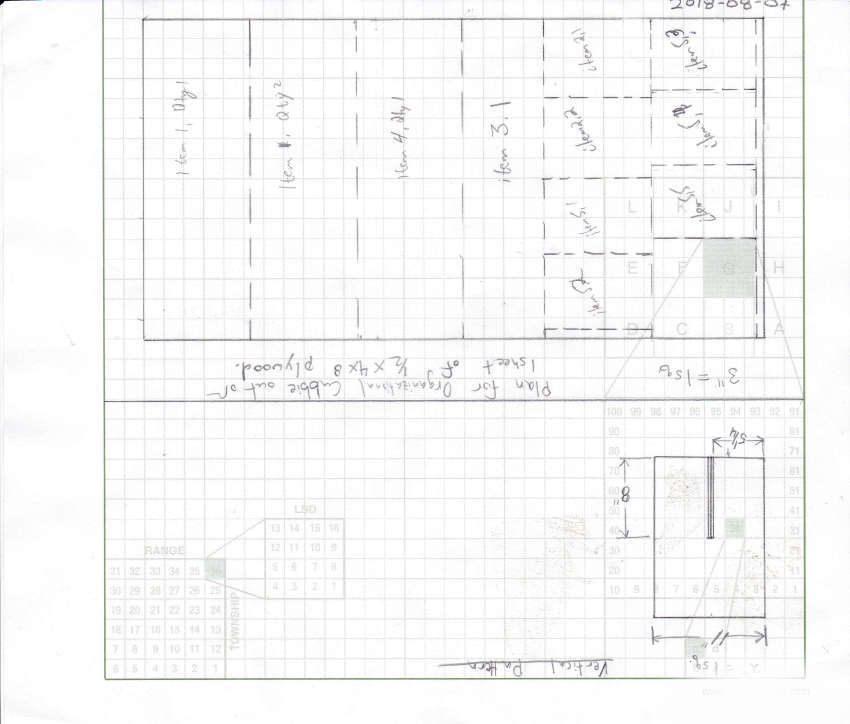
1. 15/32 4X8 BCX Plywood, Sanded. Cost $26.55
2. 4D BRT Finish Nail 1 lbs (539 pcs), use 15% of box. Cost $3.87 box. 3. Oil Based Paint. Cost $2.70. 3. Consumables (sand paper, tool wear&tear). Cost $5.00 4. Fuel Cost. Cost $5.00 Total cost of all materials used $40 USD.Tools:
1. Makita 7 1/4 Circular Saw, est. cost $100 2. Makita 4 1/2 Angle Grinder, est. cost $69 3. Makita Orbiting Sander 5.0" VSP, est. cost $79 4. Ryobi Jig Saw, est. cost $69 5. Bosh 4 in. Jig Saw Blade, 8 teeth per inch, T111C, est. cost $1.71 ea. 6. Hammer 20 oz., framing est. cost $20. 7. 2x 4in C-Clamps., est. cost $12 ea. 8. 2x 8in C-Clamps., est. cost $15 ea. 9. 1x Dewalt Traditional Bar Clamp 12 in., est. cost $11 ea. 10. Aluminum Speed Square, est. cost $8 11. 25' Tape Measure, est. cost $10 12. 18" Stiff Ruler, est. cost $8 13. Empire 16" X 24" Steel Square, est. cost $7 14. Screw Driver, Slotted 5/16 , est. cost $6 15. 9" polycast torpedo level, est. cost $3 16. 48" Johnson structo-cast level, est. cost $ 9.98 17. Wood Chisel, est. cost $5 18. 8 in. Slip Ring Pliers, est. cost $9.97 19. 8 in. Long Nose Pliers, est. cost $ 5.17 20. 4.5" X 0.045" Cut Wheel, $2.75 21. Purdy 2.5" White Bristle 100% Natural, soft, est. cost 14.47 22. 2" Putty Knife, est. cost $7.97 23. Safety Knife, est. cost $6.98 24. Paint Spinner, $9 Total cost of all tools if all bought new for project is approximately $530 USD.Design:


